Summary:
Why Venting Your Bathroom Fan Into the Attic Is a Disaster
Your bathroom creates a lot of moisture. Every shower, every bath, every time someone runs hot water—that’s humid air that needs to go somewhere. A bathroom exhaust fan pulls that moisture out of the room, which is exactly what it should do.
The problem starts when that moisture gets dumped into your attic instead of outside. Warm, humid air hits your cold attic space and condenses on everything—roof sheathing, rafters, insulation, metal fasteners. That condensation doesn’t just sit there harmlessly. It creates the perfect environment for mold growth, and it starts fast.
Building codes exist for a reason. New York Residential Code explicitly prohibits venting bathroom exhaust into attics, crawl spaces, or any interior area of your home. The air must go directly outside. If your home was built before the 1990s or if someone took shortcuts during installation, there’s a good chance your setup violates code right now.
What Happens When Bathroom Moisture Stays in Your Attic
Moisture doesn’t disappear on its own. When your bathroom fan vents into the attic, that humid air condenses on cold surfaces. In Suffolk County, where we deal with coastal humidity and temperature swings, this problem accelerates.
Mold starts growing within 24 to 48 hours when conditions are right. You’ll see it first as black or dark green patches on your roof sheathing. The wood stays damp, which means mold keeps spreading. Eventually, you’re not just dealing with surface mold—you’re looking at wood rot, compromised structural integrity, and thousands of dollars in remediation costs.
Your insulation suffers too. Wet insulation loses up to 40% of its effectiveness. You’re paying more to heat and cool your home because moisture destroyed the insulation’s ability to do its job. Replace it, and the problem just repeats if you haven’t fixed the source.
Metal components rust. Nails, brackets, flashing—anything metal in your attic starts deteriorating when exposed to constant moisture. Rusted nails lose their holding power. Rusted flashing leads to leaks. Small problems compound into major repairs.
Suffolk County’s winter weather makes this worse. That moisture in your attic warms the underside of your roof deck. Snow melts from underneath, runs down to the cold eaves, and refreezes. Now you have ice dams—another expensive problem that started with improper bathroom venting.
Roof warranties often require proper attic ventilation. If moisture from your bathroom exhaust compromises your attic environment, your manufacturer warranty could be void. When your roof fails prematurely, you’re covering the replacement cost yourself.
Common Bathroom Vent Installation Mistakes in Suffolk County Homes
Walk through enough Suffolk County attics and you’ll see the same mistakes repeated. The “snorkel method” is probably the most common—a short piece of duct coming out of the fan, pointing vaguely toward the ridge or a gable vent, not actually connected to anything. The installer assumed attic ventilation would handle the moisture. It doesn’t.
Some installations point the duct toward soffit vents, thinking the bathroom air will exit through existing ventilation. Here’s what actually happens: soffit vents pull fresh air into your attic as part of your roof’s ventilation system. When you dump bathroom exhaust near a soffit, that incoming air just pushes the moisture back into the attic. You’ve accomplished nothing except spreading moisture around.
Disconnected or poorly connected ductwork causes problems too. Flexible duct attached with only duct tape eventually separates. One bump from someone moving through the attic, and suddenly your bathroom fan vents directly into the space. The fan still runs, the bathroom seems fine, but your attic is getting destroyed.
Venting into soffit areas creates a different set of issues. The exhaust mixes with intake air, reduces ventilation efficiency, and in cold weather, can cause ice buildup right where you don’t want it. Some building codes specifically prohibit soffit exhaust for bathroom fans.
Uninsulated ductwork running through cold attic spaces creates condensation inside the duct itself. That moisture drips back toward the fan, leaks into your bathroom ceiling, or pools in low spots in the duct. Either way, you’re creating water damage.
The worst installations use existing plumbing vents or try to combine multiple bathroom fans into one duct. This violates code, creates backdraft issues, and can send one bathroom’s exhaust into another bathroom. Nobody wants that.
How Proper Bathroom Exhaust Fan Installation Works
Correct bathroom vent installation isn’t complicated, but it requires attention to detail and understanding of both ventilation principles and roof work. The goal is simple: move moisture from your bathroom directly outside your home without creating leak points or condensation problems.
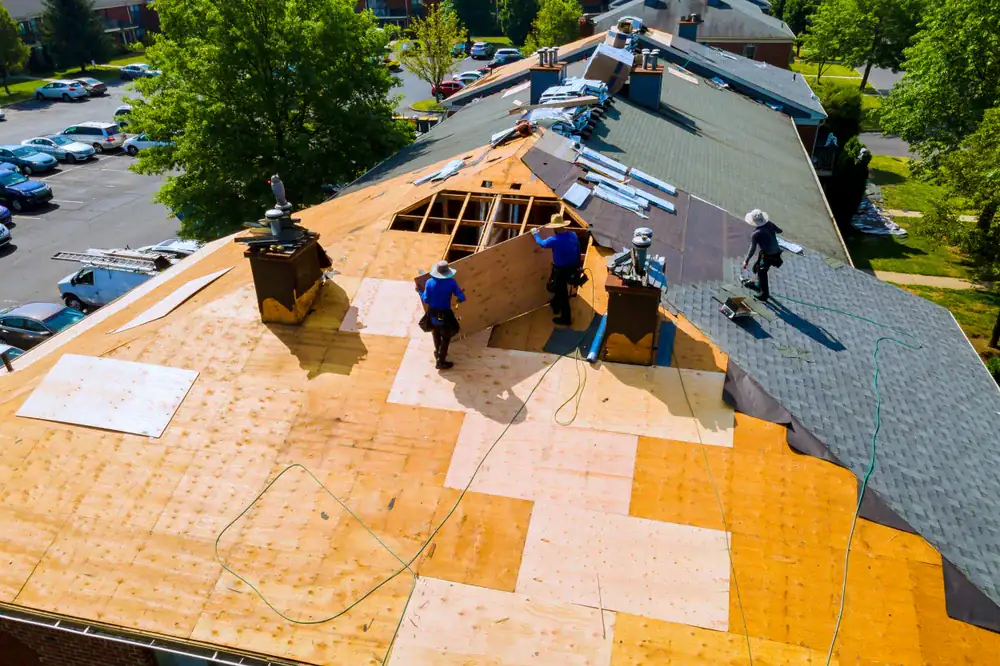
The process starts with planning the duct route. The shortest, straightest path from fan to exterior is best. Every bend in the ductwork creates resistance and reduces airflow efficiency. For most Suffolk County homes, that means venting through the roof rather than trying to route ductwork to a distant wall.
Proper residential ventilation services use rigid or semi-rigid insulated ductwork, not just flexible duct. The insulation prevents condensation from forming inside the duct as warm air passes through cold attic spaces. All connections get sealed with foil tape and secured with mechanical fasteners—screws or clamps, not just tape.
Roof Vent Installation for Bathroom Exhaust Fans
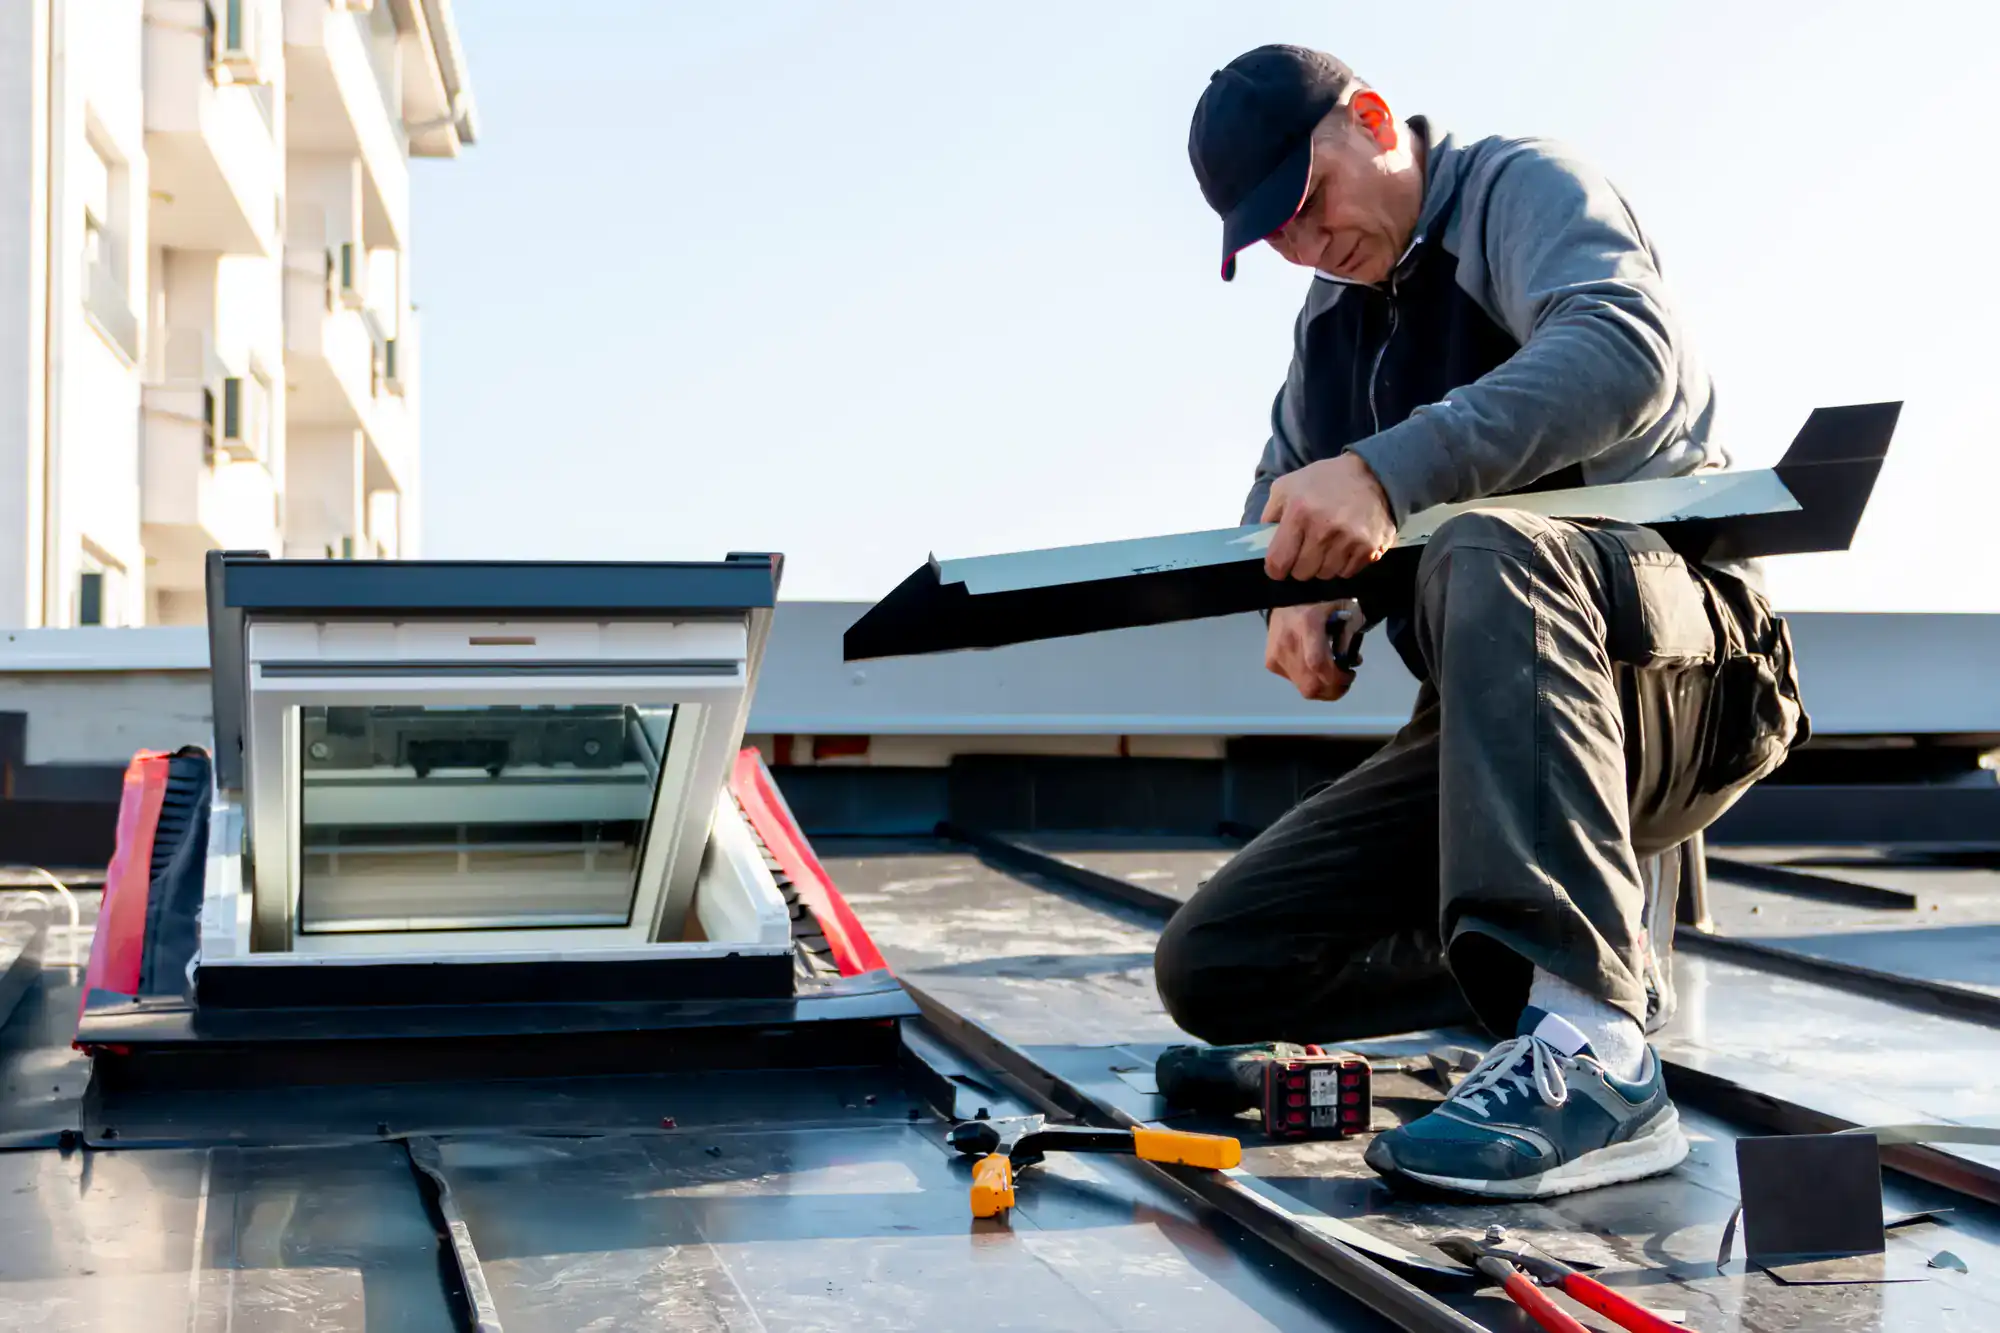
Venting through your roof requires cutting a penetration and installing a weatherproof vent cap. This is where roofing expertise matters. Done wrong, you’ve created a leak point that will cause damage for years. Done right, it’s a permanent solution that protects your home.
The roof vent cap sits on your roof surface with a collar that extends down through the sheathing. Proper installation means the vent slides under the shingles above it, so water flows over the vent rather than behind it. The bottom flange sits on top of the shingles below. This layering, combined with roofing cement, creates a waterproof seal.
Ductwork connects to the underside of the roof vent collar from inside the attic. The connection must be airtight and mechanically secured. Foil tape seals the joint, but you also need screws or clamps to prevent separation. Some installers use zip ties as backup security.
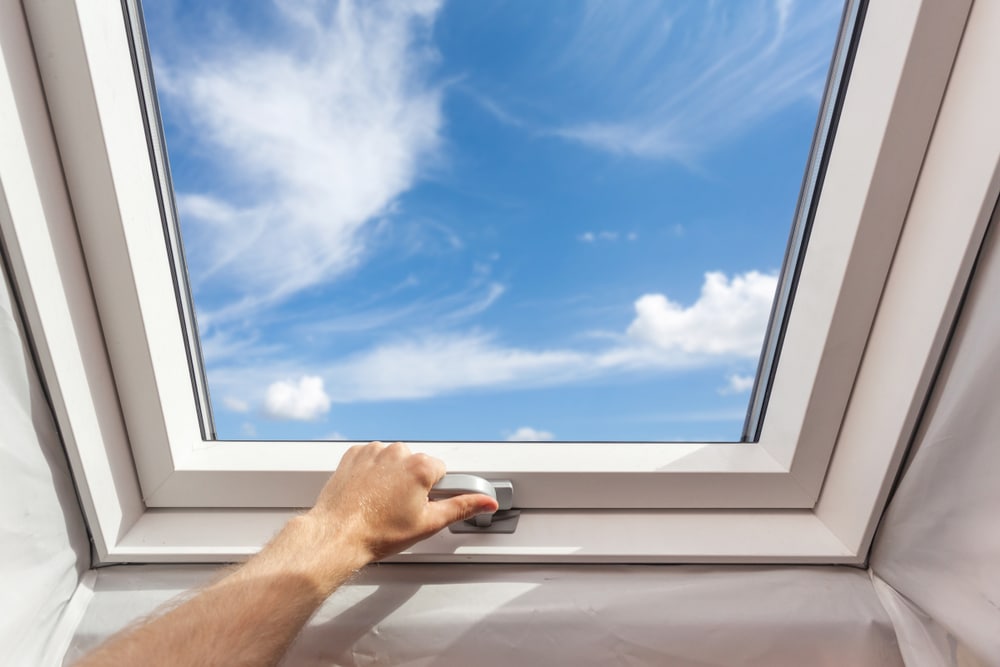
The vent cap itself includes a damper that opens when the fan runs and closes when it’s off. This prevents cold air infiltration in winter and keeps pests out year-round. Quality vent caps also include screens to prevent birds and insects from nesting in your ductwork.
Location matters. You want the roof vent positioned away from valleys, skylights, and other roof features that concentrate water flow or complicate flashing. The vent should sit between rafters, not requiring you to cut through structural members. In Suffolk County’s coastal environment, positioning the vent where it won’t catch the brunt of nor’easter winds and salt air exposure helps it last longer.
Flashing must be installed correctly. The vent’s metal flashing integrates with your roof’s water management system. Any gaps or improper overlaps create leak points. This is why bathroom vent installation benefits from roofing expertise—someone who understands how water moves across your roof and how to maintain that protection when adding penetrations.
Preventing Condensation and Ensuring Long-Term Performance
Even with proper routing to the outside, condensation inside the ductwork can cause problems if you’re not careful. Insulated duct is your first line of defense. The insulation keeps the duct interior warm enough that moisture doesn’t condense as humid air travels through.
The duct should slope slightly toward the exterior vent. Any condensation that does form will drain outside rather than back toward the fan or pooling in the duct. Some installers intentionally create a small low point near the exterior vent to collect any moisture and let it drip outside.
Duct runs should be as short as possible. The longer the duct, the more surface area where condensation can form, and the more resistance the fan has to overcome. If your bathroom is directly below an accessible roof section, a straight shot up is ideal. Longer runs might require more powerful fans to maintain adequate airflow.
All joints and connections need sealing. Foil tape designed for HVAC applications works better than standard duct tape, which degrades over time. Every seam, every connection point, every place where two pieces meet should be taped and secured. Air leaks reduce efficiency and can introduce moisture into your attic even with proper exterior venting.
Regular maintenance extends the life of your installation. Clean the fan housing and grille every six months to maintain airflow. Check the exterior vent cap annually to make sure the damper operates freely and the screen isn’t clogged. In Suffolk County’s coastal environment, salt air can corrode metal components faster than in inland areas.
Testing the installation confirms everything works. Turn on the fan and check airflow at the exterior vent. Hold a tissue near the vent—it should flutter from the air movement. Inside, the fan should pull air strongly enough that you feel the draw. Weak airflow suggests restrictions in the ductwork or an undersized fan for your bathroom size.
Protecting Your Suffolk County Home with Professional Bathroom Vent Installation
Your bathroom exhaust fan serves one purpose: remove moisture before it damages your home. When that fan vents into your attic instead of outside, you’re creating problems that compound over time—mold growth, structural damage, voided warranties, and code violations that show up during home inspections.
Proper bathroom vent installation routes moisture directly outside through a weatherproof roof vent. The work requires understanding both ventilation principles and roofing details. Shortcuts create leaks, condensation problems, or ineffective moisture removal that defeats the entire purpose.
Suffolk County’s coastal climate makes correct installation even more important. High humidity, salt air, and severe weather patterns mean your home’s ventilation system needs to work efficiently year-round. When bathroom moisture stays where it belongs—outside your home—you avoid expensive repairs and protect your investment.
We handle bathroom vent installation with the roofing expertise that ensures proper roof penetrations, weatherproof sealing, and long-term performance. If you’re dealing with attic moisture issues, planning a bathroom renovation, or just want to make sure your current setup is done right, we can help. Proper ventilation isn’t complicated, but it needs to be done correctly the first time.